How to Clean Makeup Brushes: A Step-by-Step Guide
Cleaning your makeup brushes regularly is essential for maintaining skin health and ensuring flawless makeup application; this step-by-step guide provides a comprehensive approach to properly cleaning your brushes, extending their lifespan, and preventing bacterial buildup.
Discover how to properly clean your makeup brushes: a step-by-step guide, ensuring your makeup application is flawless and your skin stays healthy. Keep reading to learn tips and tricks for maintaining your brushes in perfect condition.
Why Cleaning Your Makeup Brushes Matters
Makeup brushes are essential tools for creating a range of looks, but they can also be breeding grounds for bacteria, oils, and dead skin cells. Understanding why routine cleaning is crucial helps you prioritize this step in your beauty regimen.
Preventing Breakouts and Skin Irritation
Dirty brushes harbor bacteria that can transfer to your skin, leading to clogged pores, breakouts, and irritation. Regularly cleaning your brushes removes these impurities, promoting healthier skin and reducing the risk of blemishes.
Improving Makeup Application
Clean brushes ensure smoother and more precise makeup application. When bristles are free from product buildup, they can blend makeup more effectively, resulting in a flawless finish.
Extending the Lifespan of Your Brushes
Proper cleaning prevents the bristles from becoming stiff and brittle, extending the lifespan of your favorite brushes. Clean brushes maintain their shape and performance, saving you money in the long run.
These simple steps are essential to add to beauty routine:
- Reducing acne and breakouts
- Helping blend your makeup more easily
- Making sure brushes last longer
In summary, cleaning your makeup brushes is not just about hygiene; it’s about maintaining skin health, achieving a flawless makeup look, and maximizing the investment in your tools.
Essential Supplies for Cleaning Makeup Brushes
Before you begin cleaning your makeup brushes, gather the necessary supplies. Having everything on hand will make the process more efficient and effective.
Gentle Cleanser
Opt for a mild, gentle cleanser that won’t damage the bristles. Baby shampoo, specifically formulated brush cleansers, or diluted dish soap work well. Avoid harsh chemicals that can dry out or break down the brush fibers.
Cleaning Mat or Silicone Pad
A cleaning mat or silicone pad with textured surfaces helps to scrub bristles more thoroughly. The textures help to dislodge makeup residue and dirt, ensuring a deeper clean.
Clean Towels
Keep a supply of clean towels for drying your brushes. Microfiber towels are ideal because they are absorbent and gentle, helping to maintain the shape and integrity of the bristles.
The best items to use for the best clean:
- Baby shampoo or brush cleaner solutions
- Silicone cleaning pad to gently remove makeup
- Dry Towel
Having the right supplies sets the stage for a successful cleaning routine, ensuring that your brushes are thoroughly cleansed without damage.
Step-by-Step Guide to Cleaning Your Brushes
Follow this comprehensive step-by-step guide to ensure your makeup brushes are properly cleaned and maintained. Consistent, proper cleaning will extend the life of your brushes and improve your makeup application.
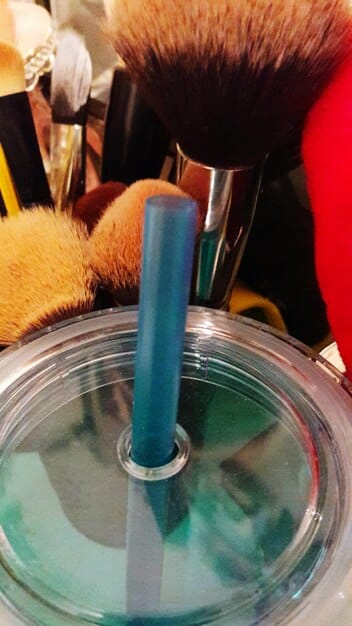
Step 1: Rinse the Bristles
Start by rinsing the bristles under lukewarm water. Hold the brush with the bristles pointing downward to prevent water from seeping into the handle, which can loosen the glue and cause the brush to shed. Continue rinsing until the water runs clear.
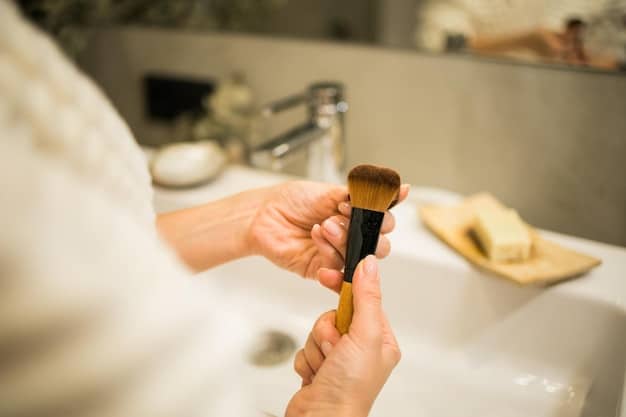
Step 2: Apply Cleanser
Place a small amount of your chosen cleanser onto the cleaning mat or into the palm of your hand. Gently swirl the brush bristles in the cleanser, working it into a lather. Use the textured surface of the cleaning mat to help dislodge makeup residue and dirt.
Step 3: Rinse Again
Rinse the bristles thoroughly under lukewarm water until all traces of cleanser are gone. Gently squeeze out any excess water, being careful not to pull or stretch the bristles.
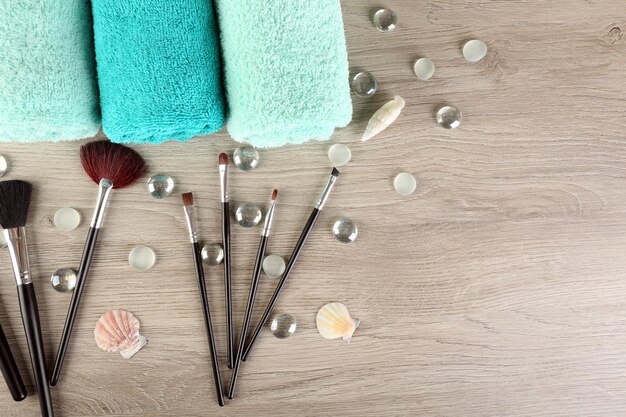
Step 4: Reshape and Dry
Reshape the brush bristles with your fingers, returning them to their original form. Lay the brushes flat on a clean towel or hang them upside down to dry. Avoid drying brushes upright, as water can seep into the handle and damage the glue.
Easy steps to make your brushes last!
- Rinse your makeup brushes with lukewarm water.
- Wash with mild soap or brush cleaner.
- Lay flat on a towel to try.
By following these detailed steps, you can effectively clean your makeup brushes, ensuring they remain in top condition for optimal performance and hygiene.
Deep Cleaning vs. Spot Cleaning: Which is Right for You?
Understanding the difference between deep cleaning and spot cleaning can help you tailor your brush maintenance routine to your specific needs.
Deep Cleaning
Deep cleaning involves thoroughly washing each brush with water and cleanser, as outlined in the step-by-step guide. This method is ideal for removing accumulated makeup, oils, and bacteria, promoting healthier skin and better makeup application. Deep cleaning should be done at least every two weeks, or more frequently if you use your brushes daily or have acne-prone skin.
Spot Cleaning
Spot cleaning is a quick and convenient way to remove surface-level makeup residue from brushes between deep cleans. This method typically involves using a brush cleaner spray or wipes to sanitize the bristles without water. Spot cleaning is perfect for maintaining brushes between deep cleans, ensuring they remain relatively clean and ready for use.
Combining Both Methods
For optimal brush hygiene, combine both deep cleaning and spot cleaning methods. Deep clean your brushes every two weeks to remove accumulated impurities, and spot clean them after each use to prevent buildup and maintain cleanliness. This dual approach ensures that your brushes are always in top condition.
Tips to remember:
- Wash brushes every 2 weeks
- Use sprays or wipes for a quick clean
- Follow both steps so your brushes remain hygienic
By integrating both deep cleaning and spot cleaning into your brush maintenance routine, you can ensure that your tools are always clean, hygienic, and ready for flawless makeup application.
Common Mistakes to Avoid When Cleaning Brushes
While cleaning makeup brushes is essential, making certain mistakes during the process can damage the bristles and shorten the lifespan of your tools. Knowing what to avoid will help you maintain your brushes in optimal condition.
Using Hot Water
Hot water can melt the glue that holds the bristles in place, causing the brush to shed. Always use lukewarm or cool water when cleaning your makeup brushes to prevent damage and prolong their lifespan.
Drying Brushes Upright
Drying brushes upright allows water to seep into the handle, loosening the glue and causing the bristles to fall out. Always lay brushes flat on a towel or hang them upside down to dry, ensuring that water doesn’t accumulate in the handle.
Using Harsh Cleansers
Harsh cleansers, such as those containing alcohol or strong detergents, can dry out the bristles and cause them to become brittle. Opt for gentle, moisturizing cleansers like baby shampoo or specifically formulated brush cleansers to maintain the integrity of the brush fibers.
Simple things to keep in mind:
- Cool water is better than hot
- Do not dry brushes upright
- Gentle cleanser only
By avoiding these common mistakes, you can ensure that your makeup brushes remain in excellent condition, providing flawless makeup application for years to come.
Maintaining Your Brushes After Cleaning
Proper maintenance after cleaning is just as important as the cleaning process itself. Taking a few extra steps can help prolong the life of your brushes and keep them in top condition.
Store Brushes Properly
Store your makeup brushes in a way that protects the bristles from damage and prevents them from becoming contaminated. Use brush holders or organizers that keep the bristles upright and separated, preventing them from bending or collecting dust.
Avoid Sharing Brushes
Sharing makeup brushes can spread bacteria and increase the risk of skin infections. Avoid sharing your brushes with others, and always clean them thoroughly after each use, especially if someone else has used them.
Regular Inspections
Regularly inspect your makeup brushes for signs of wear and tear, such as frayed bristles or loose handles. Replace brushes as needed to ensure optimal performance and hygiene.
Here are some quick tips:
- Carefully, store brushes individually
- Keep brushes to yourself
- Check the condition of the brushes
By following these maintenance tips, you can keep your makeup brushes in excellent condition, ensuring they continue to deliver flawless makeup application and promote healthier skin.
| Key Point | Brief Description |
|---|---|
| ✨ Why Clean? | Removes bacteria, prevents breakouts, and ensures smoother makeup application. |
| 🧼 How to Clean | Rinse, apply cleanser, rinse thoroughly, reshape, and dry flat or upside down. |
| 📅 Cleaning Frequency | Deep clean every two weeks and spot clean after each use for optimal hygiene. |
| 🚫 Mistakes to Avoid | Avoid hot water, drying upright, and harsh cleansers to protect brush bristles. |
Frequently Asked Questions
▼
You should deep clean your makeup brushes at least every two weeks. If you use your brushes daily or have acne-prone skin, consider cleaning them more frequently, such as once a week, to prevent bacteria buildup.
▼
While you can use regular soap, it’s best to opt for gentle cleansers like baby shampoo or specifically formulated brush cleansers. Regular soap can sometimes be harsh and dry out the bristles, shortening the lifespan of your brushes.
▼
To dry your makeup brushes properly, lay them flat on a clean towel or hang them upside down. Avoid drying them upright, as water can seep into the handle and loosen the glue, causing the bristles to fall out.
▼
Spot cleaning is a quick method to remove surface-level makeup residue from brushes between deep cleans. You can use a brush cleaner spray or wipes to sanitize the bristles after each use, helping to maintain cleanliness.
▼
To prevent shedding, avoid using hot water and harsh cleansers. Always dry your brushes flat or upside down. Also, be gentle when washing and reshaping the bristles to maintain their integrity and prevent them from becoming loose.
Conclusion
By following this step-by-step guide and incorporating regular cleaning into your beauty routine, you can ensure that your makeup brushes remain hygienic, effective, and long-lasting, ultimately leading to healthier skin and flawless makeup application.


