The Ultimate Guide to Color Correcting: Achieve Flawless Skin
Color correcting is a makeup technique using specific colored concealers to neutralize unwanted tones on the skin, effectively banishing blemishes and imperfections for a flawless complexion.
Ready to say goodbye to blemishes and hello to flawless skin? The ultimate guide to color correcting: banish blemishes and imperfections is here to help you master this transformative makeup technique. Learn how to neutralize unwanted tones and create a perfect canvas for your makeup.
Understanding the Basics of Color Correcting
Color correcting is a makeup technique that uses specific colors to neutralize unwanted tones in the skin. It’s based on the color wheel theory, where colors opposite each other cancel each other out. This technique can address a variety of concerns, from redness and dark circles to dullness and hyperpigmentation.
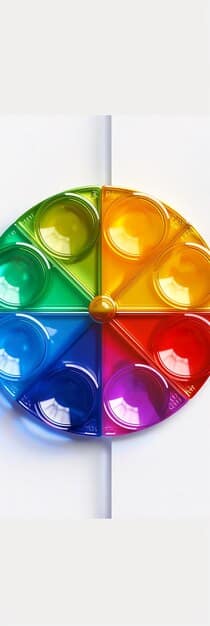
The Color Wheel and Correcting Colors
The color wheel is a visual representation of colors and their relationships. Understanding this relationship is key to effective color correcting. Each color on the wheel has an opposite, known as a complementary color. When applied correctly, these complementary colors neutralize each other.
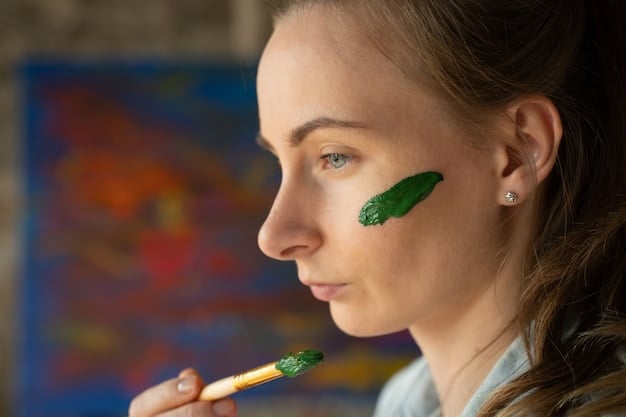
- Green: Neutralizes redness from acne, rosacea, or sunburn.
- Peach/Orange: Corrects dark circles and discoloration in deeper skin tones.
- Yellow: Brightens dullness and corrects purple or blue undertones.
- Purple/Lavender: Counteracts yellow or sallow undertones.
Choosing the right color depends entirely on the specific skin concern you’re trying to address and your skin tone. Experimentation is key to finding what works best for you.
In summary, color correcting is a fantastic tool for achieving an even skin tone. By understanding the basics of the color wheel and experimenting with different shades, you can create a flawless base for your makeup.
Identifying Your Skin Concerns
Before diving into color correcting, it’s crucial to identify your specific skin concerns. This involves assessing your skin tone and undertones, as well as noting any areas of discoloration or imperfections that you want to correct. Knowing what to address is half the battle.
Assessing Your Skin Tone and Undertones
Understanding your skin tone (light, medium, dark) and undertone (warm, cool, neutral) is essential for choosing the right color correcting shades. Undertones are the subtle hues beneath the surface of your skin that influence how makeup looks on you.
Once you’ve accurately identified your skin tone and undertones, you can better select the appropriate color correcting shades to address your specific concerns. This will ensure that the correctors seamlessly blend into your skin, providing a natural and flawless finish.
Common Skin Imperfections and Their Causes
Many factors can bring about skin imperfections: acne scars, sunspots, or even the natural bluish tinge under the eyes. Each of these has unique origins.
- Redness: Often a result of inflammation from acne, rosacea, or sunburn.
- Dark Circles: Can be caused by genetics, lack of sleep, or hyperpigmentation.
- Dullness: May stem from dehydration, poor circulation, or lack of exfoliation.
- Hyperpigmentation: Results from sun damage, hormonal changes, or post-inflammatory pigmentation.
Understanding the root of your skin imperfections will not only help you select the right color correctors but also encourage you to adopt skincare practices that target the underlying issues.
In conclusion, identifying your skin concerns involves understanding your skin tone and undertones, as well as recognizing the common imperfections you wish to address. This knowledge will guide you in choosing the appropriate color correcting shades and techniques.
Choosing the Right Color Correctors
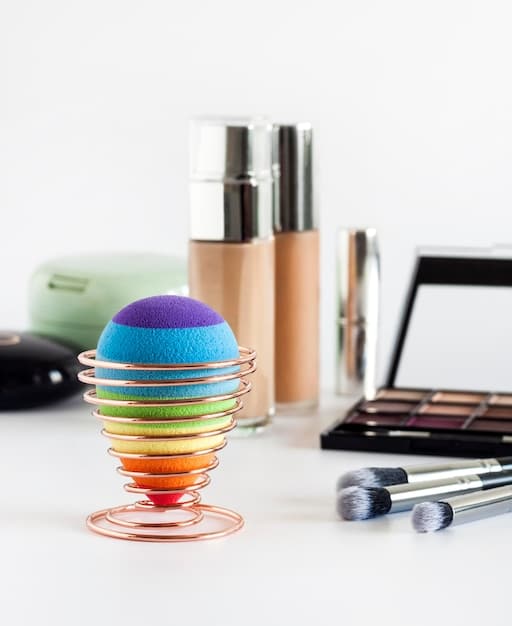
Choosing the right color correctors is vital to achieving a natural finish. Different formulations – creams, liquids, and sticks – cater to unique skin types and coverage needs. Here’s how to pick the perfect products for your skin.
Different Formulations: Creams, Liquids, and Sticks
Color correctors come in various forms, each with its own advantages. Consider your skin type and the level of coverage you need when making your selection.
Cream correctors are great for dry or mature skin, offering hydration and buildable intensity. Liquid correctors are ideal for normal to oily skin since they are lightweight and provide even coverage. Stick correctors are quick to use and suitable for targeted correction, giving you convenience.
Matching Correctors to Skin Tones
The effectiveness of color correctors dramatically improves when they are aligned with your skin tone. Consider following guidance to identify your skin tone and how it interacts with different color correctors to get optimal results.
- Light Skin: Opt for lighter shades of green, peach, or lavender to avoid looking ashy.
- Medium Skin: Choose mid-tone correctors like orange, yellow, or green, depending on your specific concerns.
- Dark Skin: Select richer, more pigmented shades of orange, red, or deep peach to effectively neutralize discoloration.
Matching correctors to your skin tone ensures that they blend seamlessly and provide natural-looking correction without leaving a visible cast.
Ultimately, choosing the right color correctors involves considering the formulation and matching the shades to your skin tone. By understanding these factors, you can select the products that will best address your specific skin concerns and achieve a flawless complexion.
Application Techniques for Color Correcting
Mastering the application of color correctors can make a big difference in your final look. Proper techniques ensure that the correctors effectively neutralize discoloration without looking cakey or unnatural.
Prepping the Skin
Applying color correctors onto well-prepped skin ensures an even and long-lasting finish. A skincare routine before applying any makeup is important to achieve better outcomes. Start with cleansing and moisturizing.
Begin with a gentle cleanser to remove any dirt, oil, or makeup residue from the skin. Follow up with a hydrating moisturizer to create a smooth canvas for makeup application. Allow the moisturizer to fully absorb into the skin before moving on to the next step.
Step-by-Step Application Guide
Ready to apply color correctors? Let’s walk through a step-by-step method that covers common correction needs.
- Apply Primer: Use a smoothing primer to create an even base and help the correctors adhere better.
- Apply Color Corrector: Using a small brush or your fingertip, gently dab the color corrector onto the areas of concern. Avoid rubbing or dragging the product.
- Blend Edges: Use a makeup sponge or brush to blend the edges of the corrector seamlessly into the surrounding skin.
- Apply Foundation: Once the correctors are blended, apply your foundation as usual.
- Set with Powder: Finish with a light dusting of translucent powder to set the makeup and prevent creasing.
By following these step-by-step instructions, you can successfully apply color correctors to effectively neutralize discoloration and create a flawless canvas for your makeup.
Color correcting is an art that calls for experience. Prepping your skin well, using gentle methods, and integrating your foundation create a flawless makeup look.
Common Mistakes to Avoid
Even with the right products and techniques, it’s easy to make mistakes with color correcting. Overdoing it, using the wrong shades, or skipping essential steps can lead to unnatural-looking results. Here’s how to avoid these common pitfalls.
Applying Too Much Product
One of the most common mistakes is applying too much color corrector. Remember, the goal is to neutralize discoloration, not completely mask it. Applying too much product can result in a cakey, unnatural finish that’s difficult to blend.
Start with a small amount of product and gradually build up coverage as needed. Less is often more when it comes to color correcting. Focus on applying the corrector only to the areas of concern, avoiding the surrounding skin.
Skipping the Blending Process
Blending is key to achieving a seamless, natural-looking finish. Skipping this step can result in obvious patches of color that don’t blend into the surrounding skin. Take the time to thoroughly blend the edges of the corrector into the skin, using a makeup sponge, brush, or your fingertips.
Avoid rubbing or dragging the product, as this can disrupt the placement and cause the correctors to mix with your foundation. Instead, use gentle, tapping motions to blend the edges seamlessly into the skin.
Avoiding common mistakes such as applying too much product and skipping the blending process is essential for achieving a natural, flawless finish with color correcting. By being mindful of these pitfalls and following proper application techniques, you can leverage the power of color correctors.
Advanced Color Correcting Techniques
Once you’ve mastered the basics, you can explore advanced color correcting techniques to tackle more complex skin concerns and achieve even more flawless results. These strategies involve layering correctors, using multiple shades, and adjusting your approach based on the occasion.
Layering Correctors for Complex Issues
Sometimes, a single color corrector isn’t enough to address multiple skin concerns. In these cases, layering correctors can be an effective strategy. Remember to apply the lightest shades first, gradually building up coverage and intensity as needed.
For example, to correct dark circles with both blue and purple undertones, you might start with a peach corrector to neutralize the blue tones, followed by a yellow corrector to brighten the purple tones. Always blend each layer thoroughly before applying the next one.
Advanced strategies can solve complex issues through layering colors, using diverse shades, and modulating your method relative to the event. Correct color application needs experience and a discerning sensibility to produce results.
| Key Point | Brief Description |
|---|---|
| 🟢 Neutralize Redness | Use green corrector to counteract redness from acne, sunburn, or rosacea. |
| 🍑 Correct Dark Circles | Apply peach or orange corrector to reduce dark circles, tailored to skin tone. |
| 💛 Brighten Dullness | Use yellow corrector to brighten dull skin with purple or blue undertones. |
| 💜 Counteract Sallowness | Apply lavender corrector to neutralize yellow or sallow undertones for a healthier complexion. |
Frequently Asked Questions
What is color correcting, and how does it work?
▼
Color correcting is a makeup technique that uses color theory to neutralize unwanted tones on the skin, such as redness or dark circles. Colors opposite each other on the color wheel cancel each other out when applied.
What colors are used for color correcting and what do they correct?
▼
Common colors include green (neutralizes redness), peach/orange (corrects dark circles on deeper skin tones), yellow (brightens dullness), and purple/lavender (counteracts yellow undertones).
Can color correcting be used for all skin types and tones?
▼
Yes, color correcting can be used for all skin types and tones. The key is to choose the right shades and formulations that complement your skin. For example, using correctors that are too pale can cause an ashy appearance.
How do I prevent color correcting from looking cakey or unnatural?
▼
To avoid a cakey look, start with well-moisturized skin, prep the area with primer, use light layers of product, and thoroughly blend each layer. Ensure not to apply too much.
What’s the best way to apply color corrector under foundation?
▼
After prepping the skin, apply the color corrector directly to the problem areas, then gently blend the edges. Follow with your foundation, applying it with a dabbing motion to avoid moving the color corrector.
The world of color correcting offers solutions to many complexion issues. Careful method and quality supplies are the key to flawless application, whether you have persistent bruises or uneven skin. This guide should serve you well on your trip to glowing skin.
Read more content


